[Edit: Rewrote the first two paragraphs to make it clear that you need warping posts AND some kind of loom-equivalent.]
Okay, you’ve all got string and pencils, right? You will also need something to wind the warp around to measure it – two chair backs, a couple of c-clamp – two adjustable but more-or-less stable points (called “warping posts” in the directions). In a pinch, ask a friend to hold their hands up! Just work fast before they get bored. Whatever you use, it’s easiest if you can lift the warp off intact after you measure it.
You will also need to have your loom-equivalent ready: something to stretch the string between, whether a couple of c-clamps, or two chairs, or your belt and your foot. This can be the same as the warping posts, or something different. You only need the warping posts for a few minutes, but you will need your loom-equivalent for a while. We’re talking minimal equipment here, but enough for the purpose.
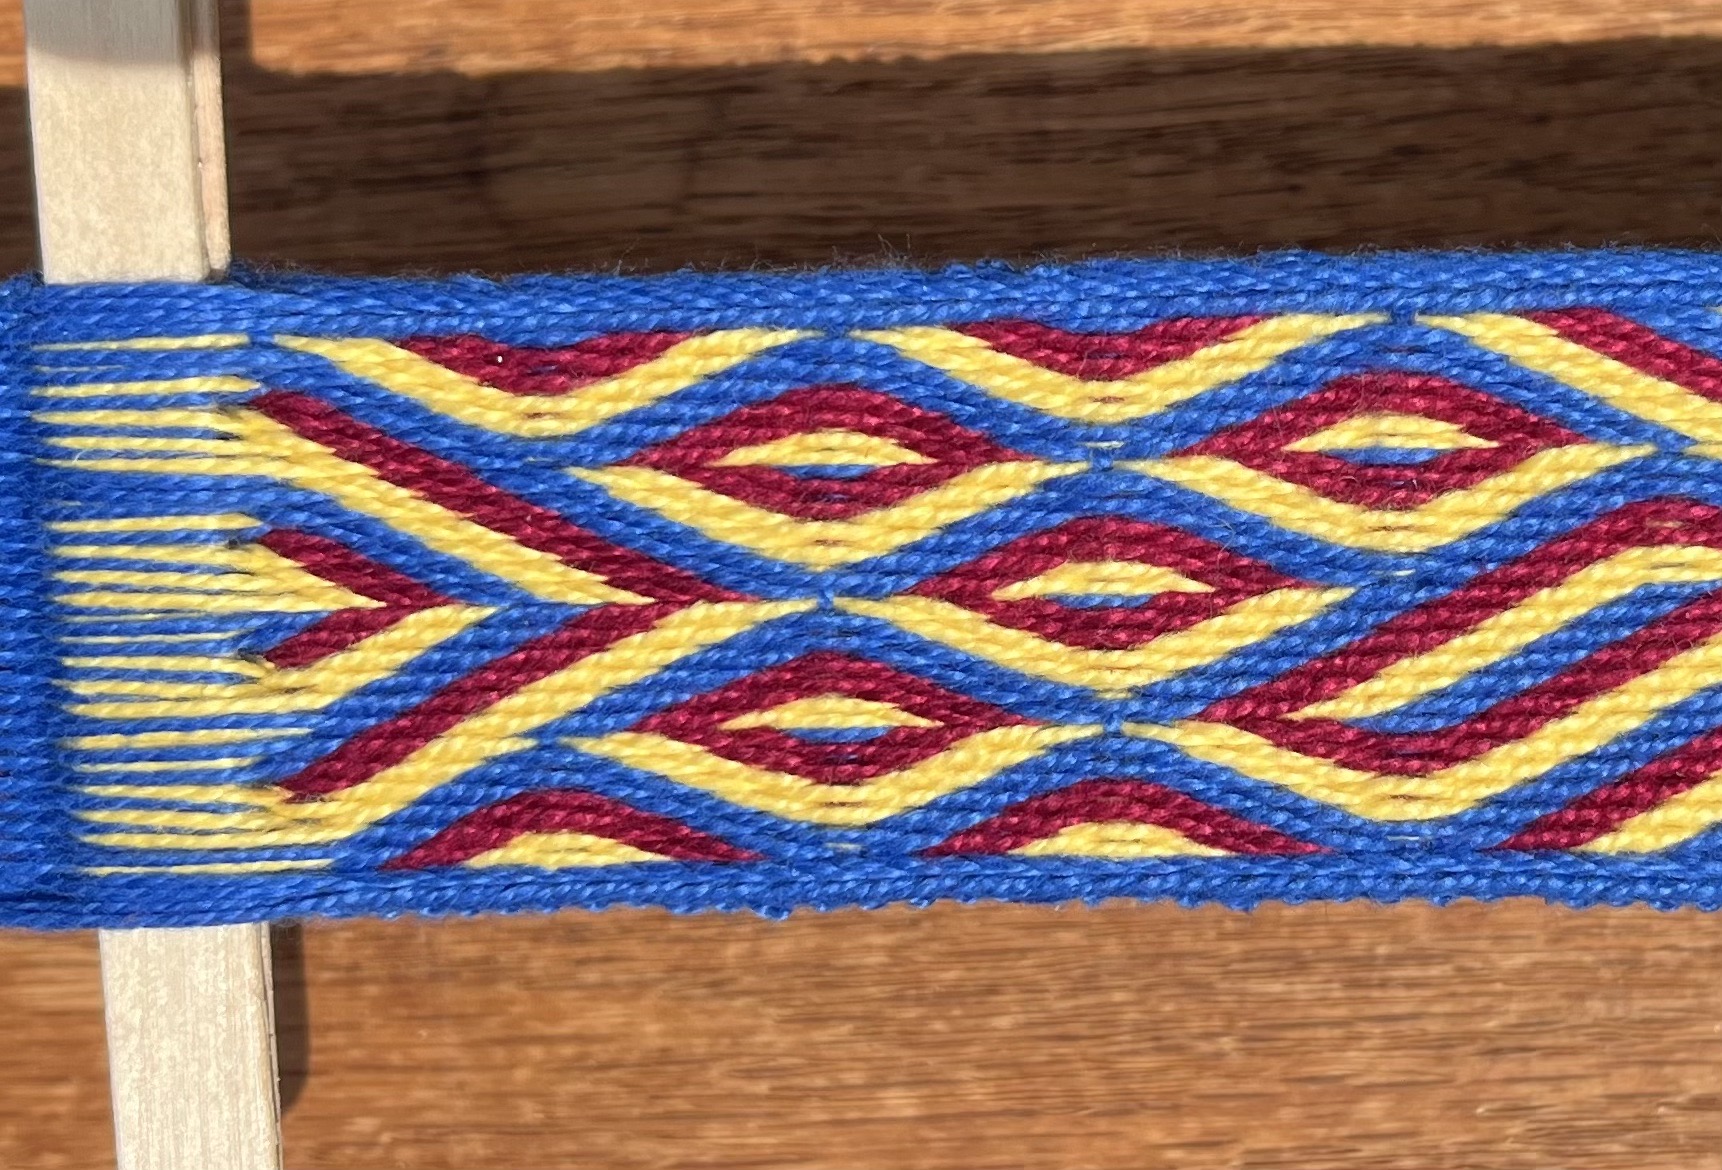
What’s the purpose, you ask? Oh yes – weaving bookmarks. Quick, easy, and useful for the string- and book-obsessed.
Please read the entire article before you start.
A quick digression: tying a slip-knot. This is an easy way to attach a string to a peg without any chance of it letting go, but you can still easily remove the knot once you take the string off the peg.
Step one: Make a loop in the string, with the end going under the main part of the string (called the bight). Not that you can tell in the black string.

Step two: Reach into the loop and grab the main part of the string, pulling it through the loop.

Pull on the free end to tighten up the knot (but not the loop). If you pull on the loop, you’ll enlarge it, and if you pull on the bight, you’ll tighten it, or pull the whole thing right out.
Okay, continuing on…
Remember from the introduction that the warp threads are set up first, so that they can be held under tension while you weave? Measuring the warp threads is the first step. You need two posts, about a yard / meter apart. If you have c-clamps, attach them to something at about that distance. You can also turn two chairs upsidedown and use the legs. The exact distance doesn’t matter, but you need to use something that won’t move easily if you tug on it. I’m using two posts on my warping board, but any two points will do fine.

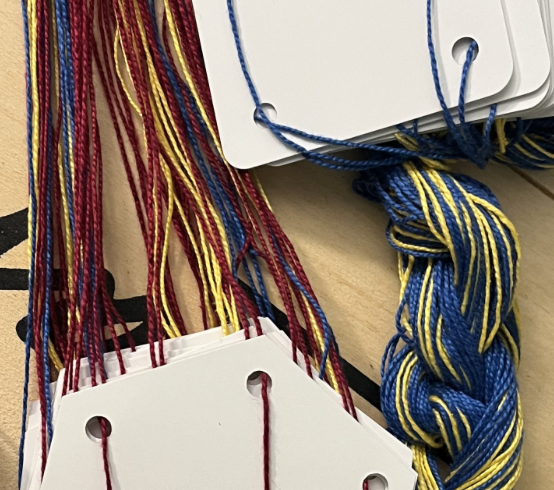
You should have two or three different colors. Pick one to be the background – we’ll call that black – and the other one or two to be the accent colors. Mine are red and yellow – yellow in the center and red on both sides of it. If you only have one accent color, that’s fine too.
Make a slip knot in the black, and put it over one post. This bookmark project will require 12 strands of black (or whatever your background color is). That’s down-and-back around your posts 6 times.
Cut the black, leaving 5 inches or so (12 cm). Tie it and the red (your first, or only, accent color together). A square knot is fine, or anything you know how to tie that will hold two pieces of string together. Try to get the knot as close to the back of the post as possible, but don’t worry if it ends up on one side or the other.
Measure out 6 strands of red (3 circuits of the posts). If you have a third color, break the red and tie on the third color, then measure 3 strands. If not, just measure out 3 more of the red. The red ends at the far post, not the one you started at. That adds up to 9 colored strands, right? Break the red and tie the end to your warp at the back of your post, whatever it may be. Go back to the first post, slip the starting loop from the post and pull the end to pop the slip-knot out. Tie it to the warp behind the first post. [Edit: don’t worry about it. Just tie the free end around the entire warp, tightly. This is to keep the whole thing from escaping while you get set up.]
You should have your entire warp as one continuous loop, not tied in any way to your warping posts, but with the ends tied to itself. The colors are out of order, but we can fix that later. More sophisticated warping methods get everything all arranged while you measure, but for so few ends and a first project, it isn’t worth the hassle. [Edit: If you need to cut your warp to get it off, then do so, and tie the ends back together when you’re done. For this project, it doesn’t matter. The continuous loop aspect is important for more advanced projects, which is why I start out with that method.]
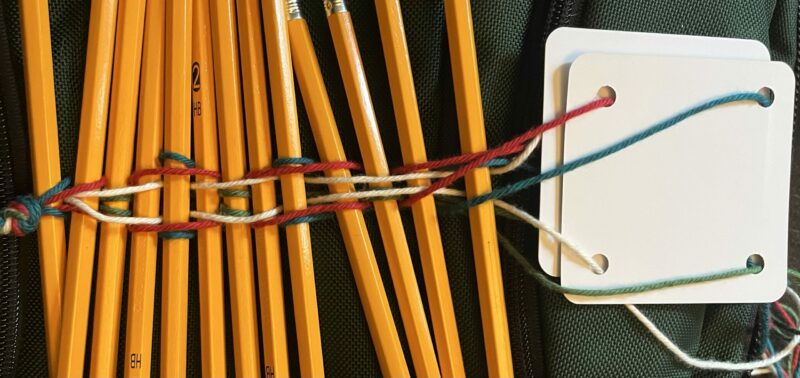
And now, the pencils! And some utility string. Take a piece of utility string long enough to go around your loom-like device plus a foot (30 cm), then tie the ends together. Cut another piece the same length, but don’t tie it. If your utility string isn’t very strong, you should use a double thickness.
Lift your warp carefully off the posts. Don’t lose the loop! Stick both pencils in the center as quickly as possible. [Edit: You are now done with the warping posts. You can flip the chairs over, or let your friend go back to whatever he was doing. From now on, you’ll be working with your loom-surrogate, which needs to be something you can leave the warp on until you are done weaving. If you need to store the warp for a while, put the pencils in, and slide them one to each end. Slide one pencil to each end and lay the warp on a table. Start from one pencil, and roll up the warp with the pencil in the middle. When you get to the other pencil, rubber-band them together on both ends. When you are ready to weave, you can unroll the warp on a table and be back to this point.]
[Edit: Make sure that the ends/posts of your loom equivalent are a bit farther apart than the length of your warp.] Tie the looped string to one post of your loom (c-clamp, chair back) with a lark’s head knot. (Fold the string in half, wrap the folded part around the loom-post, put the ends through the folded loop. Must take pictures of this step.) Make sure the two ends are the same length by putting the initial fold exactly in the center. Because you started with a loop, each “end” is actually a loop itself. Put one pencil through one loop, then slide the other loop over the other end of the pencil so that the warp is sandwiched between the two loops of utility string.

You might need to let the pencil rest on the table. This isn’t very stable right now, but will be once there’s tension on the warp, as long as the warp is near the center of the pencil.
Slide the second pencil down to the other end of the warp.
If your two posts are movable, you can do the second end exactly like the first end, loops and all, and just move the posts to put some tension on your warp. My description of the second end assumes that your posts are not movable, so that you need to adjust the tension some other way.
Tie the other piece of utility string to the far loom post with a lark’s head. Pass the two ends over the pencil, around the side away from the post, then back up on the side near the post.

Pull the two ends tight, then tie a nice firm bow in them.

Next step is to put the warp threads in order. You’ll need two more pencils.
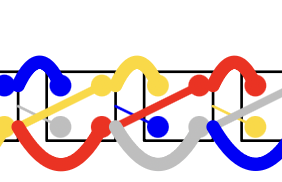
B   R   R   R   Y   Y   Y   R   R   R   B
  B   B   B   B   B   B   B   B   B   B
The bottom layer is all but two of the black threads, and the top layer has black edges with the red – yellow – red stripes of three threads.

Stick a pencil in this, your first shed.
[The next section is written for right-handers. If you are a leftie, either follow as written or completely reverse everything. It just doesn’t matter!]
Insert your left index finger into the shed to hold it open. Starting at the right: take the rightmost bottom thread, and lift it to the top using your right hand. Take the rightmost top thread and drop it to the bottom. You are interchanging the warp threads one by one from right to left. When I do this, I hold the new bottom threads between the index and middle finger of my right hand, and the new top threads between the index finger and thumb. You do what works for you.
When finished, put a pencil in your new second shed.

Ta-dah! One warped loom-type-thing!
Note 1: Despite taking not-very-long to do, this takes forever to write. I’ve been teaching string classes for 15 years or so; you’d think I would have realized that by now.
Note 2: If you didn’t sign up for the Ravelry contest, why not?


5 responses to “Weaving 101: Warping”
Hi. I’m surfing WeaveRing; just passing through. I couldn’t help but comment on your excellent tutorial. What a wonderful way to introduce someone to weaving. Very clever.
I’m sure you’ve heard all the warped jokes before, though I am tempted, lol!
Course, that song Who let the dogs out woof, woof woof woof woof is going through my head, as an opposite to the warp.
But I’m just silly! Silly String, now there’s an idea (hee hee!).
Sweet! I’m going to warp up tomorrow, after I’ve failed to join some gorgeously dyed bfl roving for the umpteenth time to the first bit I did today on my new spindle. The bad thing about the beautiful colorway is, it’s exactly all the colors you’d see varying across a peach, from the peachy deep pink/red, to the lighter tangering & peach colors. So I’m litterally drooling when I see this yarn. Well, I just swallow alot, anyway, who needs drool. Everyone always says such and such yarn or fiber makes em drool, I guess my first fiber is already doing it to me, hee hee!
Spindling is fun, but when do I get to fold and mutilate? hee.
Does embroidery floss work well for warps? I know I have other stuff that might work, but that’s a most excellent wide range of colors I’ve got buried in a box. It’s just a bookmark, so it’s not like I’m doing a 5 foot double woven intricately lettered tablet woven band. Lol! Although I’m sure you’ve done double woven intricately lettered tablet woven bookmarks.
Gah, it’s 2:30 am and I’m rambling. I’ll have my spinning foibles posted to my blog sometime soon, in case you are interested.
Off to go dream of peaches, mmmm. I guess I’ll use these colors in the bookmark!
What’re the latest contest numbers — I think I need to change my guess.
Phiala — I love your blog! Have been reading it weekly for the last few months, am finally commenting. I’ve been dabbling with fiber arts stuff out here in Caid – hanging out with the fiber ladies is great fun!
A lovely dose of string for a day that STILL isn’t Saturday, but almost. Much appreciated!