Like any other activity, weaving has its own terminology. Taking the time to learn a few new words now means that you will be able to follow anyone’s explanations and read any introductory weaving book. It also means that if you run into problems, you can clearly and concisely ask for help.
Weaving is a way of making fabric using two sets of elements. One set, the warp is set up before weaving begins and held under tension in some way. The other set, the weft (sometimes called woof in very old publications), is passed over and under the threads of the weft in a particular pattern. The weft is often one continuous thread, but it can be a whole bunch of separate threads, so it is called a “set of elements” in the formal definition.

You can see the warp all laid out, and the weft curled into a small ring. There are some more terms here too. Actual weaving starts at one end, the cloth end of the warp and proceeds toward the warp end.
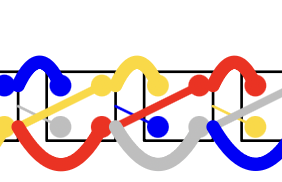
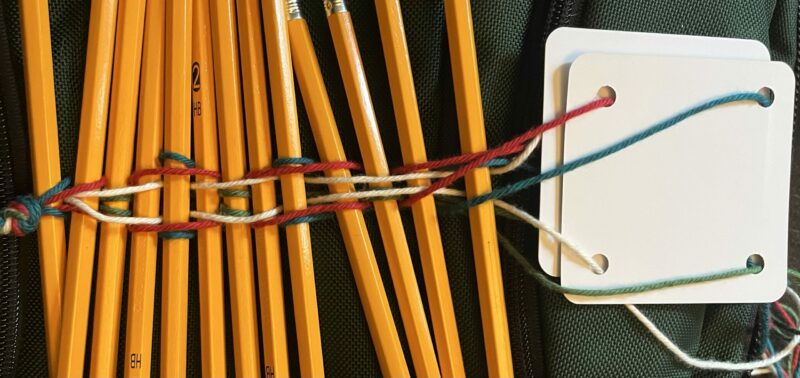
All kinds of weaving have the same parts, warp and weft, cloth end and warp end. This one is tablet weaving – same setup.

The most primitive method of weaving is to use your hands to lift and lower individual threads in the warp to create a shed, the space for the weft to go through. You might have done this as a kid, maybe with string or strips of paper: “over, under, over, under”. That’s the basic weave, called plain weave or tabby.
Lifting all the threads gets old pretty fast, so many, many ways have been developed to speed the process. A heddle is a device to lift or lower particular threads. This one is a rigid heddle. The first warp thread goes through a slot, the second through a hole, the third through a slot, and so on.

Lifting the heddle also raises the warp threads that are in the holes but allows the threads in the slots to slide so that they stay in a lower layer. This creates a shed between the two layers of warp. The weft can be inserted through the shed without the need for any individual manipulation of warp threads. When the rigid heddle is pushed down, the threads in the holes go down and the threads in slots stay up, creating a different shed.

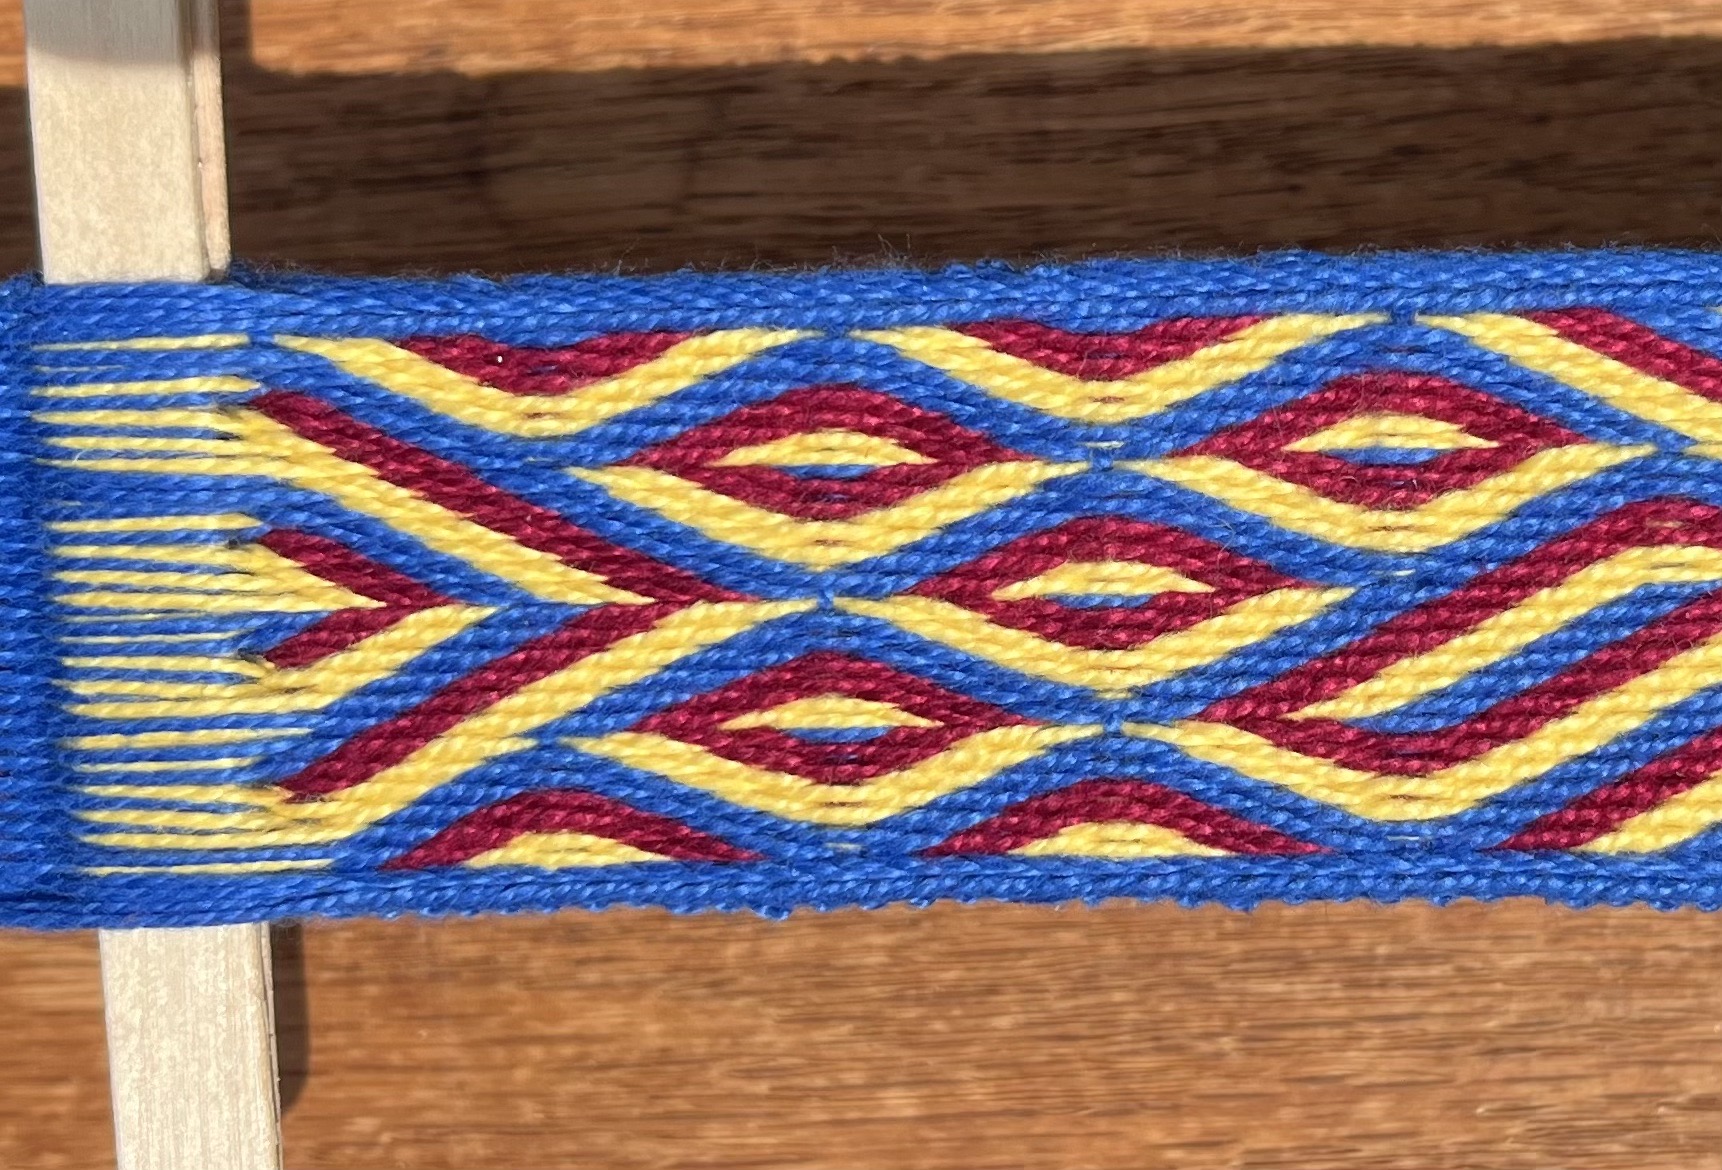
This simple tool makes the weaving process much faster and easier. The above photos shows a length of plain weave woven by a six-year-old using the rigid heddle. Modern floor looms use the same idea, but in a more complicated way. Tablet weaving substitutes the cards or tablets for the heddle as a shed-creating device. If you go back up to the photo of tablet weaving, you can see how the holes in the tablets separate the warp threads into two layers, creating a shed. Yet another way of creating a shed uses string heddles tied to individual warp threads so that they can be lifted in a group. I’ll talk about that at great length in a later article.
At its simplest, a loom is a device that holds the warp under tension. One very simple method used worldwide is to tie the cloth end to your belt and the warp end to a fixed point – tree, fencepost, doorknob. This is called a backstrap loom, and allows a great deal of control of the warp tension. It isn’t usually a favorite nowadays, though, because it requires the weaver to stay in one place tied to the furniture while weaving, and makes it hard to answer the phone.
More complicated looms, like the modern floor loom, provide not only tension for the warp, but also incorporate the mechanism for creating the shed. The whole history of weaving can be briefly summarized as the substitution of machinery for hand manipulation: fancier looms, more complex shedding devices that require less and less manipulation of individual threads, automatic switching and opening of the sheds, all the way to the cloth mill.
Along the way, the time needed to weave a certain amount of cloth has gone way down, but the cost and complexity of the equipment needed has gone way up. The skill needed has gone down, but so has the flexibility available. The more mechanized the process is, often the more committed the weaver becomes to a particular result. This series will focus on one end of the spectrum, where the weaver needs very little equipment but a great deal of skill, and can produce a wide range of results from the same starting point.
Don’t be scared off by the skill comment – I’ll start very simply. It won’t take long, though, before you are weaving all sorts of complex patterns!
If you haven’t been following along, go back to the earlier posts in this series about
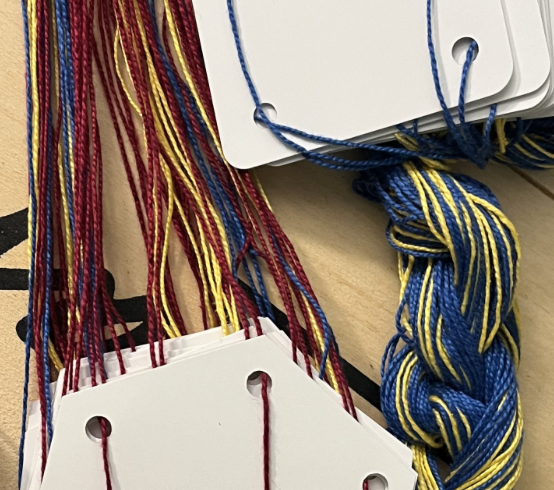
choosing string and getting it ready to use. Pick out some something attractive in two or three colors, and also some sturdy twine.
Homework for today: Scrounge (beg, borrow, purchase) a couple of c-clamps or similar and locate a table edge where you can attach them without marring the table. A chunk of 2×4 or other piece of wood will work as well or better if you’ve got it (a couple feet long). Last, go hit the back-to-school sale and pick up a box of unsharpened wooden pencils.
Even if you have a loom, consider doing this first project without it.


4 responses to “Weaving 101: Introduction”
what if you only have a loon?
Then you still need string and pencils.
And a muzzle for the loon so it won’t eat the string.
I’m getting ready for teaching an inkle weaving class, and will be showing rigid heddles as well as string heddles. (See! Inkle weaving without a loom!)
And look at this–a 16th c box loom!!!
https://www.bildindex.de/rx/apsisa.dll/init?sid={44c1e91f-13b8-4ae0-8751-7f447069cf3c}&cnt=193077&:lang=en
(www.bildindex.de–search for “bandwirkerrahmen”)
I’ve been gearing up (knowledge & research wise, not equipment or materials wise) for learning inkle weaving, with some card/tablet weaving thrown in to boot. Also been playing with kumihimo, and I may be peruvian flat braiding (loosely) a necklace that looks like a mermaid’s undersea net when woven that way (I’ve test-done alot of it, then unwoven as it wasn’t ready for final weaving yet, and it was beautiful (er, I hope that’s not arrogant lol).
I’m enjoying your blog immensely, Phiala! What you are doing is great.
From some of the weaving books I checked out, like Weaving Without a Loom, and portions in some of the others, I have a partial notion of what some of the homework parts are for. It’s going to be fun to do this with you and anyone else doing it.